Let’s create a parachute! But in order to make it more attractive, we’ll make it look like a “flying object” that lights. It isn’t complicated at all because the materials are affordable and can easily be found inside your home or in a nearby store. The process is also simple, but of course, proper guidance from an adult is essential!
What you will need:

- CR2032 Coin Battery
- 10mm LED Bulb
- 20” x 20” Tissue Paper
- 4 strings cut to about 12 inches each
- Scissors
- Masking Tape
- Hole Punch
What to do?
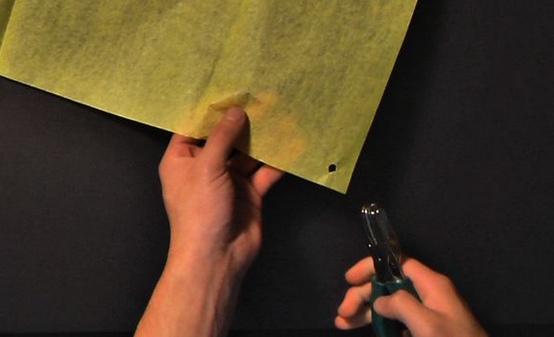
- Using a hole punch, create a hole on each side of the tissue paper, about an inch away from the edge.
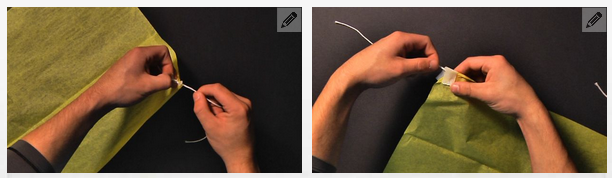
Credit: Childrens Museum of Houston - Attach a string to each hole. Make sure that the knot is secured by securing it with a small piece of masking tape.
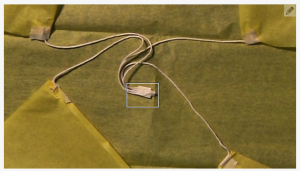
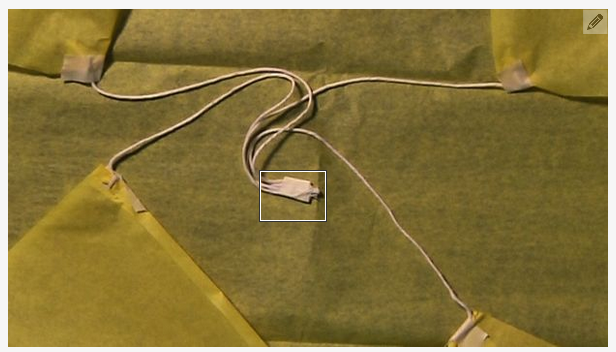
Credit: Childrens Museum of Houston - Tie all the strings together in the middle.
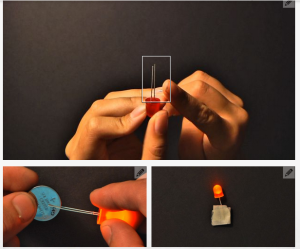
Credit: Childrens Museum of Houston - Grab your coin battery and insert it in the middle of your LED bulb. You will see that the LED bulb lights up once the battery is attached. If it doesn’t work, then there’s a problem with your LED bulb or coin battery. If it does, continue by securing it using the masking tape.
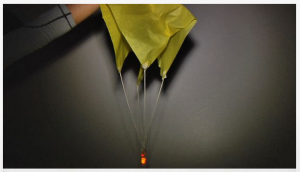
Credit: Childrens Museum of Houston - Attach the LED bulb and coin battery to the strings and secure the connection using the masking tape.


Isn’t that easy? Call your children and turn off the light before you let the parachute down slowly.
Related Articles:
Experiment: Steady Hand Game
How to See Iron on your Food


