Many a times you might have thought of making your own flashlight, but dropped the idea of doing it, thinking that it might be a complicated affair, then let me tell you, the instructions below spell everything out for you……Just be careful and have fun!!
Supplies you need:
a) 5″ (12.5 cm) piece of insulated copper wire
b) 2 D batteries
c) A 3 volt flashlight bulb
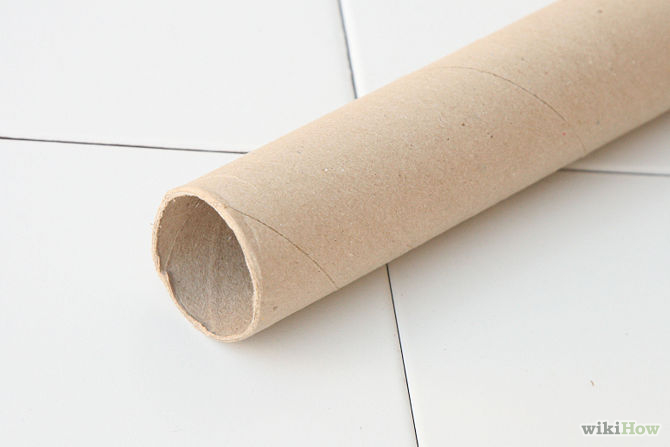
d) A toilet tissue roll – cut to 4” in length
e) 1” X 3” cardboard strip
f) 2 brass fasteners
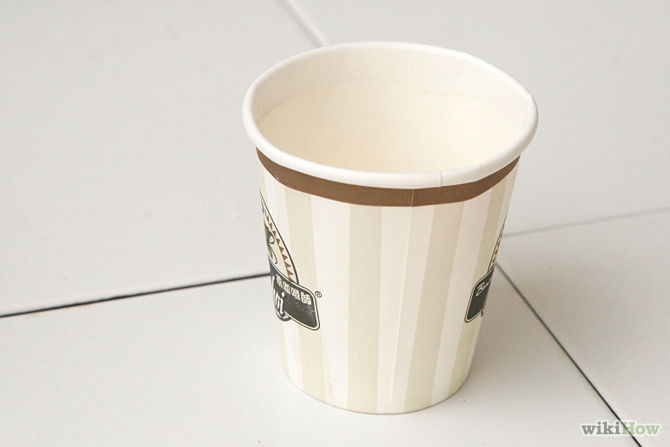
g) Small paper cup
h) 1” X 3” cardboard strip
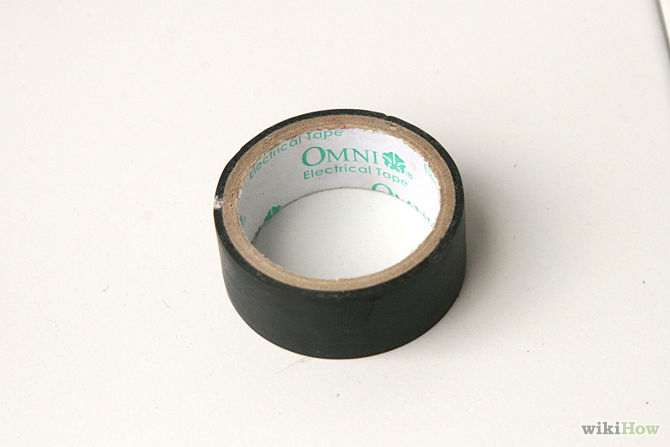
i) Tape
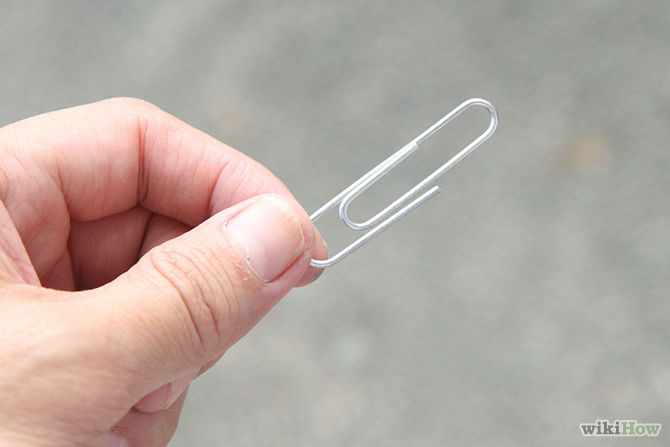
j) A paper clip
Once you are done with collecting the supplies, get going with the actual procedure:
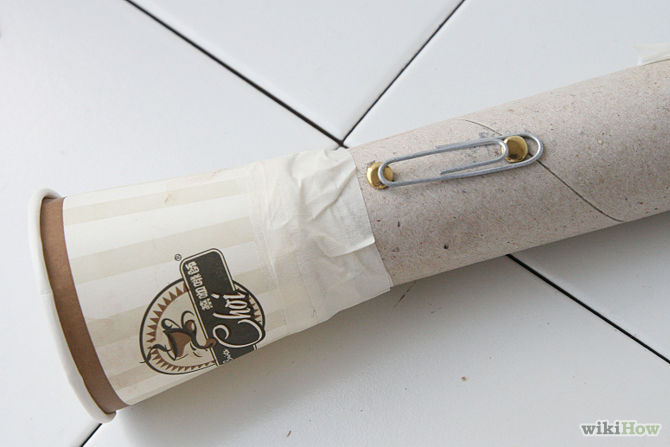
a) Push the metal fastener through the tube and affix it with a paperclip. Here the paper clip will act as the off/on button of your flashlight. Attach a copper wire to each fastener from inside the tube.
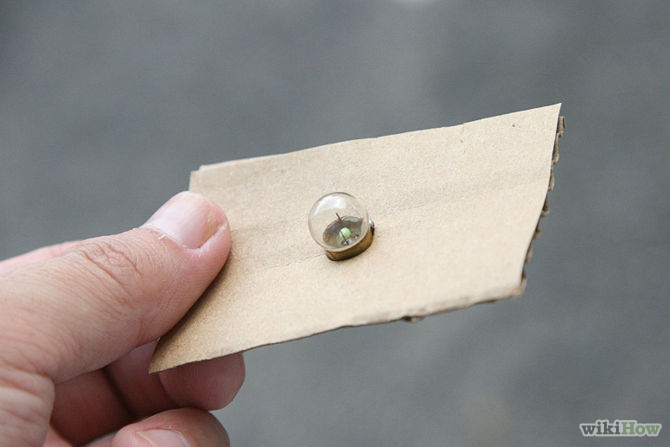
b) Affix your batteries inside the tube. Make a big hole in the center of the cardboard strip (big enough to fit a 3V bulb) and insert the wire. Take another wire and secure it to the battery’s negative terminal.
c) Cover the bottom of the bulb with the wire coming from the hole and insert the bulb in to the cardboard strip. Make sure that when the cardboard is taped to the tube, the bulb is in direct contact with the positive terminal of the battery
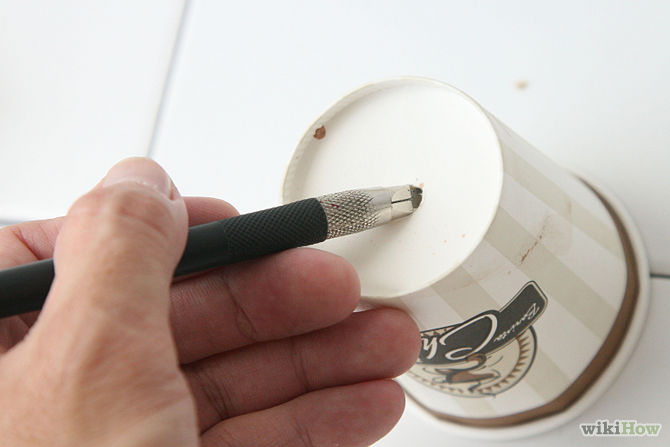
d) Make a hole in the paper cup; it will act as a reflector. Push the bulb through the hole and secure with the tape.
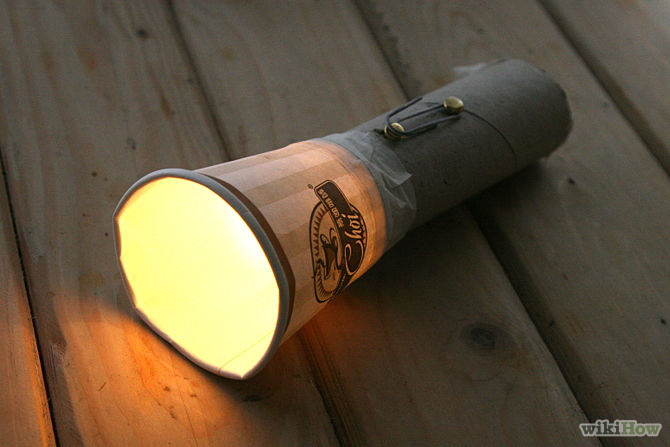
e) Light up your flashlight.
If your flashlight didn’t work, verify the connections. In 1898, the first flashlight was built and this is very nearly the same procedure.
Please see the picture representation:

Related Articles:


